Gluten Free Bread Without Yeast (Easy No-Yeast Bread Recipe for Beginners)
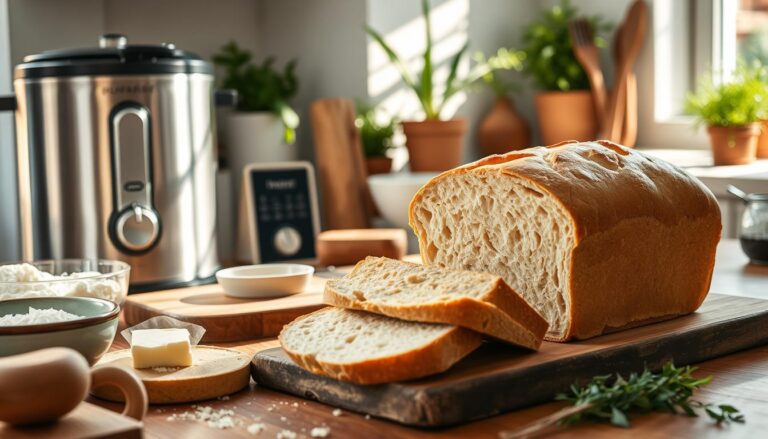
Making gluten free bread without yeast is easier than you think. You don’t need hours of waiting or complicated techniques to enjoy fresh, homemade bread.
This recipe delivers soft, tender bread in just 30 minutes. No yeast means no rising time and no guesswork about dough.
Whether you’re new to gluten free baking or simply want a quick bread recipe, this guide walks you through every step. You’ll discover how baking powder creates the perfect texture without the fuss of traditional yeast bread.
Can I Make Gluten Free Bread Without Yeast?
Yes, you can absolutely make gluten free bread without yeast. This type of bread is called quick bread because it skips the lengthy fermentation process.
Traditional bread relies on yeast to create air bubbles that make the dough rise. Yeast needs time to activate, feed on sugars, and produce carbon dioxide.
Quick bread uses chemical leaveners instead. Baking powder and baking soda create the same lifting effect in minutes, not hours.
How Baking Powder Replaces Yeast
Baking powder contains both an acid and a base. When mixed with liquid, it immediately produces carbon dioxide bubbles.
These bubbles get trapped in the dough, creating a light, airy texture. The reaction happens fast, which is why you need to bake the bread right away.
This method works perfectly for gluten free flour blends. The batter doesn’t require kneading or developing gluten structure.
Why This Works for Gluten Free Baking
Gluten free bread recipe without yeast is actually more forgiving than traditional versions. The lack of gluten means you don’t need to worry about overworking the dough.
The baking powder does all the heavy lifting. You simply mix the dry ingredients with wet ingredients and get the bread into the oven quickly.
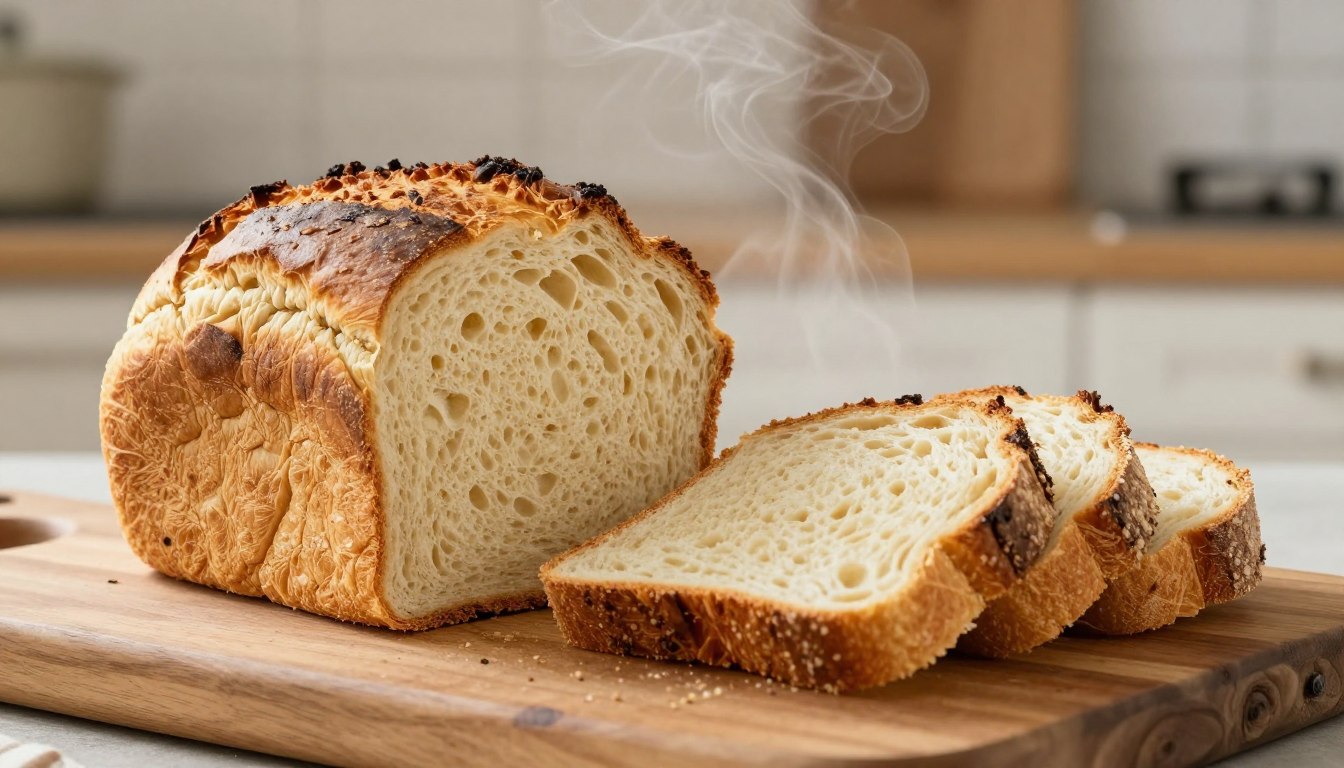
The result is bread with a tender crumb and pleasant flavor. It won’t taste exactly like yeasted bread, but it’s delicious in its own right.
How to Make Gluten-Free Bread Rise Without Yeast

Understanding how to make gluten-free bread rise without yeast opens up a world of quick baking possibilities. Two main methods create the lift you need.
The Baking Powder Method
Baking powder is the most straightforward leavening agent for no yeast gluten free bread recipe. It contains cream of tartar (acid) and baking soda (base) already mixed together.
When you add liquid to the dry ingredients, the baking powder activates immediately. The chemical reaction produces carbon dioxide gas that makes the batter expand.
Most recipes call for about one tablespoon of baking powder per cup of flour. This ratio creates enough lift without leaving a bitter aftertaste.
Pro Tip: Always use fresh baking powder. Test it by dropping a teaspoon in hot water. It should fizz vigorously if it’s still good.
Baking Soda Plus Acid Method
Another way to make bread rise is combining baking soda with an acidic ingredient. This creates a powerful reaction similar to baking powder.
Common acidic ingredients include:
- Plain yogurt or buttermilk
- Apple cider vinegar or white vinegar
- Lemon juice
- Cream of tartar
The acid activates the baking soda instantly when mixed. This method often produces a slightly tangier flavor profile that complements savory bread recipes.
Use about one teaspoon of baking soda per cup of flour. Add one tablespoon of acid for each teaspoon of soda.
Texture Differences vs Yeast Bread
Gluten free quick bread has a different texture than traditional yeast bread. Understanding these differences helps set proper expectations.
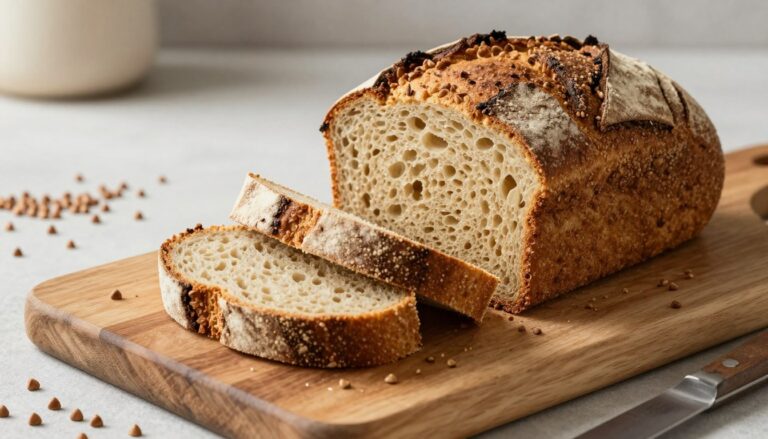
Yeast bread develops a chewy, elastic texture from gluten development and long fermentation. The crumb has larger, irregular holes from slow gas production.
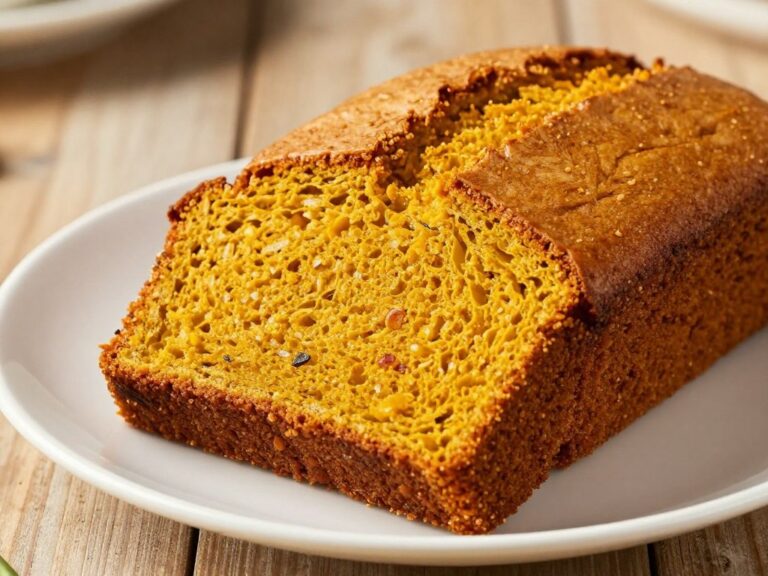
Quick bread using baking powder creates a more cake-like texture. The crumb is finer and more uniform with smaller air pockets throughout.
Yeast Bread Characteristics
- Chewy, elastic texture
- Complex, slightly tangy flavor
- Large, irregular air holes
- Requires 2-4 hours rising time
- Longer shelf life
Quick Bread Characteristics
- Tender, softer crumb
- Mild, slightly sweet flavor
- Fine, even texture
- Ready to bake immediately
- Best consumed within 2-3 days
The trade-off for speed is shelf life. Quick bread dries out faster than yeast bread. Proper storage helps maintain freshness for several days.
Essential Ingredients for Gluten Free Bread Without Yeast

Every ingredient plays a specific role in creating successful gluten free bread. Using the right components ensures the best texture and flavor.
Gluten Free Flour Blend
A quality gluten free flour blend is the foundation of this bread recipe. Look for all-purpose blends that already contain xanthan gum or guar gum.
These gums replace the binding power of gluten. They help hold the bread together and prevent it from crumbling.
The best blends combine rice flour, potato starch, and tapioca starch. This combination mimics the protein and starch balance of wheat flour.
Avoid single-grain flours like almond flour or coconut flour for this recipe. They don’t have the same structure-building properties.
Leavening Agents
Baking powder is the primary leavening agent in this no yeast gluten free bread recipe. Use aluminum-free baking powder for the cleanest taste.
Some recipes add a small amount of baking soda for extra lift. This works especially well if you’re using yogurt or buttermilk as your liquid.
The baking powder must be fresh to work properly. Old powder loses its potency and won’t create enough rise.
Liquids and Fats
Milk adds moisture and helps create a tender crumb. You can use dairy milk, almond milk, oat milk, or any milk alternative you prefer.
Eggs provide structure and binding. They also add protein and help the bread rise properly.
Oil keeps the bread moist and extends its shelf life. Neutral oils like vegetable oil or light olive oil work best. Avoid strong-flavored oils that might overpower the bread.
Complete Ingredient List
Dry Ingredients
- 2½ cups gluten free flour blend (with xanthan gum)
- 1 tablespoon baking powder
- 1 teaspoon salt
- 1 tablespoon sugar (optional, for slight sweetness)
Wet Ingredients
- 2 large eggs, room temperature
- 1 cup milk (dairy or non-dairy)
- ¼ cup oil (vegetable, canola, or light olive oil)
- 1 tablespoon apple cider vinegar (optional, for extra lift)
Temperature Matters: Room temperature ingredients mix more easily and create a better texture. Take eggs and milk out of the refrigerator 30 minutes before baking.
Recommended Gluten Free Flour Blends for Perfect Results
Choosing the right gluten free flour blend makes a significant difference in your bread’s texture and taste. These top-rated options are specifically formulated for baking.

Bob's Red Mill 1-to-1 Baking Flour
This versatile blend works perfectly for gluten free bread without yeast. It contains xanthan gum already mixed in, saving you an extra step.
- Certified gluten-free and non-GMO
- Pre-measured xanthan gum included
- Works as direct wheat flour replacement
- Consistent, reliable baking results

King Arthur Measure for Measure Flour
A premium blend that creates bread with excellent rise and tender texture. Perfect for beginners learning how to make gluten free bread without yeast.
- Expertly balanced rice and starch blend
- Contains xanthan gum for easy baking
- Produces soft, bakery-quality results
- Trusted professional baker brand

Cup4Cup Multipurpose Flour
Developed by professional chefs, this flour blend delivers exceptional flavor and texture for all your gluten free baking needs.
- Chef-developed formula
- Contains milk powder for richness
- Superior taste and texture
- Ideal for quick bread recipes
All three brands produce consistent results for this gluten free quick bread recipe. Choose based on your dietary needs and budget.
Step-by-Step Instructions: How to Make Gluten Free Bread Without Yeast

Follow these simple steps to create perfect gluten free bread every time. The entire process takes less than 10 minutes of active work.
Important: Work quickly once you mix wet and dry ingredients. The baking powder starts reacting immediately, so you want to get the bread in the oven within 5 minutes of mixing.
Timing Is Everything
The key to successful gluten free bread recipe baking powder is speed. Unlike yeast bread that needs time to rise, this dough must go straight into the oven.
The baking powder begins producing carbon dioxide as soon as it contacts liquid. If you wait too long, those bubbles escape and your bread won’t rise properly.
Set up everything before you start mixing. Have your pan ready, oven preheated, and all ingredients measured. This ensures you can work efficiently.
Total active time is about 8-10 minutes. The oven does the rest of the work while you clean up or prepare toppings.
Essential Mixing Tools for Easy Gluten Free Baking
The right tools make mixing your gluten free bread dough much easier. These recommended options help create the perfect consistency every time.

Hamilton Beach 6-Speed Electric Hand Mixer
This lightweight hand mixer makes quick work of combining ingredients. Perfect for beginners who want consistent results without hand fatigue.
- 6 speed settings for precise control
- Powerful enough for thick bread batter
- Easy to clean stainless steel beaters
- Comfortable grip for extended use
- Budget-friendly for occasional bakers

OXO Good Grips 11-Inch Balloon Whisk
For those who prefer manual mixing, this professional-grade whisk thoroughly combines ingredients without overmixing the batter.
- Stainless steel wires for durability
- Soft, non-slip handle reduces hand strain
- Perfect for gentle folding technique
- Dishwasher safe for easy cleanup
- Gives you complete control over texture
Both tools work excellently for this recipe. Choose the hand mixer if you make bread frequently. The whisk gives you more control if you’re concerned about overmixing.
Tips for Perfect No-Yeast Gluten Free Bread Every Time

Mastering a few key techniques ensures your gluten free bread turns out perfectly every time you bake. These tips address the most common challenges.
Managing Moisture for Tender Bread
Gluten free flour absorbs liquid differently than wheat flour. The right moisture balance creates tender bread instead of dense or dry results.
The batter should be thick but still pourable. If it’s too thick, add milk one tablespoon at a time until it reaches the right consistency.
Too much liquid makes the bread gummy in the center. If your batter looks very thin, add flour one tablespoon at a time.
Humidity affects baking. On humid days, you might need slightly less liquid. On dry days, add a touch more moisture.
Signs of Perfect Batter Consistency
- Falls from spoon in thick ribbons
- Slowly levels itself in the pan
- Not watery or runny
- Similar to thick pancake batter
Batter Consistency Problems
- Too thick: Won’t rise properly, dense result
- Too thin: Gummy center, doesn’t set
- Lumpy: Uneven texture throughout
- Separated: Ingredients not well mixed
Achieving the Right Texture
Texture depends on three main factors: mixing technique, baking time, and cooling process. Each step matters for the final result.
Mix gently using a folding motion. Aggressive stirring creates tough bread by breaking down the structure too much.
Don’t undermix either. Make sure no dry flour pockets remain. These create dense spots in the finished bread.
The bread continues cooking slightly after you remove it from the oven. Take it out when a toothpick comes out with just a few moist crumbs, not completely clean.
Perfecting Baking Time
Oven temperatures vary, so watch for visual cues rather than relying solely on time. The top should be golden brown and spring back when lightly pressed.
Start checking at 40 minutes. Insert a toothpick or cake tester in the center. If it comes out wet with batter, bake another 5 minutes.
Cracks on top are normal and actually indicate good oven spring. The bread expanded properly as it baked.
If the top browns too quickly but the center isn’t done, tent the bread loosely with foil. This prevents burning while the inside finishes baking.
Temperature Test: The internal temperature should reach 200-205°F (93-96°C) when fully baked. An instant-read thermometer gives you certainty.
Elevation Adjustments
High altitude affects baking powder bread significantly. Above 3,000 feet, you need to make adjustments for proper rise and texture.
Reduce baking powder by about 25% at high elevations. The lower air pressure makes leavening agents work too aggressively.
Increase liquid by 2-4 tablespoons. Moisture evaporates faster at altitude, leading to dry bread without adjustment.
Raise oven temperature by 15-25°F. This helps set the structure before the bread rises too much and collapses.
Common Mistakes to Avoid When Making Gluten Free Bread Without Yeast
Even experienced bakers encounter problems with gluten free bread. Learning to identify and prevent these issues saves frustration and wasted ingredients.
Dense, Heavy Bread
Dense bread is the most common complaint with gluten free quick bread recipes. Several factors contribute to this problem.
Old or expired baking powder won’t create enough lift. Always test your baking powder before using it in a recipe.
Insufficient liquid makes the batter too stiff to rise properly. The mixture needs enough moisture for the baking powder to activate fully.
Waiting too long between mixing and baking lets the leavening escape. Work quickly to preserve maximum rise.
Do These Things
- Use fresh, active baking powder
- Measure flour accurately (spoon and level)
- Get bread in oven within 5 minutes of mixing
- Let eggs and milk come to room temperature
- Mix ingredients just until combined
Avoid These Mistakes
- Using old baking powder past its date
- Packing flour into measuring cup
- Letting mixed batter sit before baking
- Using cold ingredients from refrigerator
- Overmixing or undermixing the batter
Wrong Ingredient Ratios
Baking is science, especially with gluten free ingredients. Small measurement errors create big texture problems.
Too much flour makes bread dry and crumbly. Always measure by spooning flour into the cup and leveling it off. Never scoop directly from the bag.
Too much liquid creates a gummy interior that never fully sets. If you accidentally add extra milk, balance it with a bit more flour.
Incorrect leavening amounts affect both rise and taste. Too much baking powder leaves a bitter, metallic flavor. Too little means your bread won’t rise.
Overmixing the Batter
Unlike yeast dough that needs extensive kneading, quick bread batter requires minimal mixing. Overworking creates undesirable results.
Excessive mixing breaks down the structure created by xanthan gum or guar gum. This leads to bread that doesn’t hold together well.
It also develops too much air, which can create large holes or an uneven texture. The bread may collapse in the middle as it cools.
Mix just until you don’t see dry flour. A few small lumps are perfectly fine and will bake out. Total mixing time should be under one minute.
The 30-Second Rule: Once you add wet ingredients to dry, mix for no more than 30-40 seconds. This prevents all overmixing issues.
Using the Wrong Pan
Pan choice affects how your bread bakes. The wrong size or material can cause uneven cooking or sticking problems.
A 9×5-inch loaf pan is ideal for this recipe. Smaller pans cause overflow. Larger pans produce flat, wide loaves that bake too quickly on the edges.
Dark metal pans absorb more heat and can over-brown the bottom before the center cooks. Light-colored or glass pans work best for even baking.
Always line your pan with parchment paper for easy removal. Gluten free bread tends to stick more than regular bread.
Best Baking Pans for Perfect Gluten Free Bread Results
Investing in quality baking pans prevents common problems like sticking, uneven browning, and collapsed centers. These options deliver consistent results.

USA Pan Bakeware Aluminized Steel Loaf Pan
This commercial-grade pan solves the dense bread problem with superior heat distribution. The corrugated surface promotes even baking and easy release.
- Heavy-duty aluminized steel construction
- Silicone-based non-stick coating (PTFE, PFOA, and BPA-free)
- Unique fluted design for even heat circulation
- Standard 9×5-inch size perfect for this recipe
- Made in USA with lifetime warranty

Pyrex Glass Loaf Pan
Glass allows you to monitor browning on all sides, preventing the common mistake of over or underbaking. Ideal for beginners learning baking timing.
- See-through glass for visual baking cues
- Even heat distribution prevents hot spots
- Non-porous surface won’t absorb odors
- Easy cleanup, dishwasher safe
- Doubles as storage container with lid

Pre-Cut Parchment Loaf Pan Liners
These pre-sized liners eliminate the frustration of cutting parchment paper to fit. They guarantee easy release every single time you bake.
- Pre-cut to fit standard 9×5-inch pans perfectly
- Unbleached, food-grade parchment paper
- Non-stick surface needs no additional greasing
- Makes cleanup effortless
- Pack of 100 sheets for multiple baking sessions
Any of these options will work beautifully for your gluten free bread without yeast. The metal pan bakes fastest, while glass gives you visual feedback. Parchment liners work with any pan you choose.
Delicious Variations of Gluten Free Bread Without Yeast

Once you master the basic recipe, try these variations to create different flavors and accommodate various dietary needs. Each version uses the same simple technique.
Vegan Gluten Free Bread Version
Creating a dairy-free and egg-free version of this gluten free bread is simple with smart substitutions. The texture stays remarkably similar to the original.
Replace the two eggs with flax eggs. Mix 2 tablespoons ground flaxseed meal with 6 tablespoons water. Let sit for 5 minutes until gel-like.
Use any non-dairy milk instead of regular milk. Almond milk, oat milk, or soy milk all work equally well in this recipe.
The baking powder and baking soda are naturally vegan, so no changes needed there. Just verify your gluten free flour blend doesn’t contain milk powder.
Vegan Tip: Add an extra tablespoon of oil to compensate for the fat in eggs. This keeps the bread moist and tender.
Dairy-Free Version
For those avoiding dairy but still eating eggs, making this bread dairy-free requires only one simple swap.
Replace regular milk with your favorite plant-based alternative. The bread works beautifully with coconut milk, cashew milk, or rice milk.
Choose unsweetened versions to control the sweetness level. Sweetened milk alternatives can make the bread taste too sugary.
Use oil instead of butter if the recipe variation calls for it. Coconut oil adds a subtle tropical flavor that pairs well with this bread.
Quick Flatbread Version
Transform this recipe into flatbreads for sandwiches, wraps, or dipping. The technique adapts perfectly to stovetop cooking.
Make the batter slightly thinner by adding 2-3 extra tablespoons of milk. The batter should pour easily and spread in the pan.
Heat a non-stick skillet or griddle over medium heat. Lightly grease with oil or cooking spray.
Pour about ¼ cup batter per flatbread into the hot pan. Cook for 2-3 minutes until bubbles form on top and edges look set.
Flip carefully and cook another 2 minutes until golden brown. These cook much faster than oven-baked bread.
Savory Add-Ins
- Shredded cheddar or parmesan cheese
- Fresh or dried herbs (rosemary, thyme, oregano)
- Minced garlic or garlic powder
- Everything bagel seasoning on top
- Chopped olives or sun-dried tomatoes
Sweet Variations
- Cinnamon and raisins
- Chocolate chips
- Blueberries or cranberries
- Banana slices and walnuts
- Orange zest and poppy seeds
Add mix-ins after combining wet and dry ingredients. Fold them in gently at the very end to avoid overmixing.
Limit add-ins to about ½ to ¾ cup total. Too many extras weigh down the batter and prevent proper rise.
Serving Suggestions for Gluten Free Quick Bread

This versatile gluten free bread works for breakfast, lunch, dinner, or snacks. Here are the best ways to enjoy it fresh from the oven or toasted.
Breakfast Ideas
Toast slices and spread with butter and honey for a simple morning treat. The slight sweetness of the bread pairs perfectly with honey’s natural flavor.
Top with avocado, salt, and red pepper flakes for a trendy avocado toast. The sturdy texture holds up well under heavy toppings.
Make French toast by dipping slices in beaten eggs mixed with cinnamon. This gluten free version soaks up the egg mixture beautifully without falling apart.
Serve alongside scrambled eggs and fresh fruit for a complete breakfast. The bread’s mild flavor complements rather than competes with other breakfast foods.
Lunch and Dinner Pairings
Use for sandwiches with your favorite fillings. The bread is sturdy enough for deli meats, cheese, and vegetables without getting soggy.
Serve warm slices with soup or chili. The soft texture is perfect for soaking up broth and sauce.
Make garlic bread by brushing slices with butter, garlic, and herbs before toasting. This creates a delicious side dish for pasta or salad.
Cut into cubes and use as croutons for Caesar salad. Toast cubed bread with olive oil and seasonings until crispy.
Snack Options
Spread with nut butter and banana slices for a protein-rich snack. Almond butter, peanut butter, or sunflower seed butter all taste great.
Top with cream cheese and smoked salmon for an elegant appetizer. Cut into small squares for easy finger food.
Make cinnamon toast by sprinkling with cinnamon sugar and broiling briefly. Watch carefully to prevent burning.
Serve with cheese and crackers as part of a snack board. The bread adds substance to lighter cheese and fruit platters.
Storage and Freezing Tips for Maximum Freshness
Proper storage extends the life of your gluten free bread without yeast and maintains its texture. Follow these guidelines to keep bread fresh for days.
Room Temperature Storage
Let the bread cool completely before storing. Wrapping warm bread traps moisture and creates a soggy texture.
Store in an airtight container or resealable plastic bag at room temperature. This keeps the bread soft for 2-3 days.
Don’t refrigerate gluten free bread. The cold temperature actually dries it out faster than room temperature storage.
Place a piece of paper towel in the container to absorb excess moisture. This prevents the bread from getting gummy.
Freezing for Long-Term Storage
Slice the bread before freezing for easy single-serving access. You can toast frozen slices directly without thawing.
Wrap the entire loaf or individual slices tightly in plastic wrap. Then place in a freezer-safe bag, removing as much air as possible.
Label with the date and type of bread. Frozen gluten free bread stays fresh in the freezer for up to 3 months.
Thaw frozen bread at room temperature for about 30 minutes. Or toast directly from frozen, adding an extra minute to toasting time.
Signs Bread Is Still Fresh
- Soft, moist texture when pressed
- No visible mold or discoloration
- Pleasant, mild bread aroma
- No off tastes or sour smell
When to Discard Bread
- Any signs of mold growth
- Sour or unpleasant odor
- Very dry, crumbly texture throughout
- Stored at room temperature longer than 4 days
Refreshing Day-Old Bread
Bread that’s dried out slightly can be revived with a few simple tricks. Don’t throw away bread that just needs a little help.
Wrap the bread in a damp (not wet) paper towel and microwave for 10-15 seconds. The steam softens the bread immediately.
Brush slices lightly with water and toast in a 300°F oven for 5-7 minutes. This re-crisps the outside while softening the inside.
Make breadcrumbs from very dry bread. Pulse in a food processor and store in the freezer for future use in recipes.
Frequently Asked Questions About Gluten Free Bread Without Yeast
Can I make gluten free bread without yeast?
Yes, you can absolutely make gluten free bread without yeast. This type of bread uses baking powder or baking soda as the leavening agent instead of yeast. The chemical reaction from these ingredients creates rise and texture without requiring fermentation time. Quick bread methods work perfectly for gluten free baking because they don’t rely on gluten development. The result is fresh bread in about 30 minutes of active work plus baking time.
How to make gluten-free bread rise without yeast?
You can make gluten-free bread rise without yeast by using baking powder or the combination of baking soda plus an acidic ingredient. Baking powder contains both acid and base, creating carbon dioxide bubbles when mixed with liquid. Alternatively, combine baking soda with yogurt, buttermilk, vinegar, or lemon juice for the same effect. These chemical leaveners work immediately upon contact with moisture, so you must bake the bread right away to capture the rise. The key is working quickly from mixing to oven.
How to make gluten free bread without yeast?
To make gluten free bread without yeast, combine dry ingredients (gluten free flour blend, baking powder, salt) in one bowl and wet ingredients (eggs, milk, oil) in another bowl. Pour the wet ingredients into the dry mixture and stir just until combined, about 30-40 seconds. Transfer the batter to a greased loaf pan immediately and bake at 375°F for 40-45 minutes. The bread is done when golden brown on top and a toothpick inserted in the center comes out clean. Let cool for 10 minutes before removing from the pan.
Can you make gluten free bread without yeast?
Yes, you can make gluten free bread without yeast, and it’s actually easier than yeast-based versions. The bread will be more like quick bread than traditional yeast bread, with a finer, more uniform crumb. It won’t have the same chewy texture or complex flavor that comes from yeast fermentation. Instead, expect a tender, cake-like texture with mild flavor that’s perfect for sandwiches, toast, or serving with meals. This style of bread is ready to eat within an hour from start to finish.
Why is my gluten free bread without yeast so dense?
Dense gluten free bread usually results from expired baking powder, insufficient liquid, or waiting too long before baking. Test your baking powder by adding a teaspoon to hot water – it should fizz vigorously if fresh. Make sure your batter consistency is like thick pancake batter, not stiff dough. Get the bread into the oven within 5 minutes of mixing, as the leavening reaction begins immediately. Also ensure you’re not packing flour into the measuring cup, which adds too much flour and creates density.
What can I substitute for eggs in gluten free bread without yeast?
For egg-free gluten free bread, use flax eggs as a substitute. Mix 2 tablespoons ground flaxseed meal with 6 tablespoons water and let sit for 5 minutes until gel-like. This replaces two regular eggs in the recipe. You can also try commercial egg replacers or chia seeds prepared the same way as flax eggs. Add an extra tablespoon of oil when using egg substitutes to maintain moisture. The texture will be slightly different but still delicious.
How long does gluten free bread without yeast last?
Gluten free bread without yeast stays fresh at room temperature for 2-3 days when stored in an airtight container. Never refrigerate the bread, as this dries it out faster. For longer storage, slice and freeze the bread for up to 3 months. Wrap tightly in plastic wrap and place in a freezer bag. You can toast frozen slices directly without thawing. Day-old bread can be refreshed by wrapping in a damp paper towel and microwaving for 10-15 seconds.
Can I use regular flour instead of gluten free flour?
This specific recipe is designed for gluten free flour blends and won’t work the same with regular wheat flour. Gluten free flour absorbs liquid differently and requires xanthan gum or guar gum for structure. If you want to use regular flour, you would need to adjust ratios and mixing method significantly. For those who can eat gluten, traditional quick bread or Irish soda bread recipes work better with wheat flour.
Start Baking Your Perfect Gluten Free Bread Today

Making gluten free bread without yeast is one of the easiest baking projects you can tackle. This recipe proves you don’t need complicated techniques or specialty equipment to enjoy fresh, homemade bread.
The quick bread method saves hours compared to traditional yeast bread. You can have warm bread on the table in less than an hour from start to finish.
With the right gluten free flour blend, proper mixing technique, and quality baking pan, you’ll achieve perfect results every time. The bread tastes delicious fresh from the oven, toasted for breakfast, or used for sandwiches.
Remember the key principles: work quickly after mixing, don’t overmix the batter, and use fresh baking powder. These simple rules prevent the most common mistakes and guarantee success.
Start with the basic recipe to build your confidence. Then experiment with the variations to create custom flavors your family will love. Each batch teaches you more about how gluten free baking works.
This versatile bread fits any meal and accommodates multiple dietary restrictions. Make it vegan, dairy-free, or customize with your favorite add-ins for endless possibilities.
The best time to start baking is right now. Gather your ingredients, preheat your oven, and experience the satisfaction of homemade gluten free bread in just 30 minutes of active work.